How to Add & Style Custom Fonts in Squarespace

Adding custom fonts to your Squarespace site is easier than it seems! While Squarespace offers a solid library of fonts, sometimes you want something that’s just right for your brand. In this guide, I’ll show you how to add a custom font and even how to combine two fonts within the same text block to create a unique, standout look.

Table of Contents
Watch the Video
Check out the YouTube video below 👇
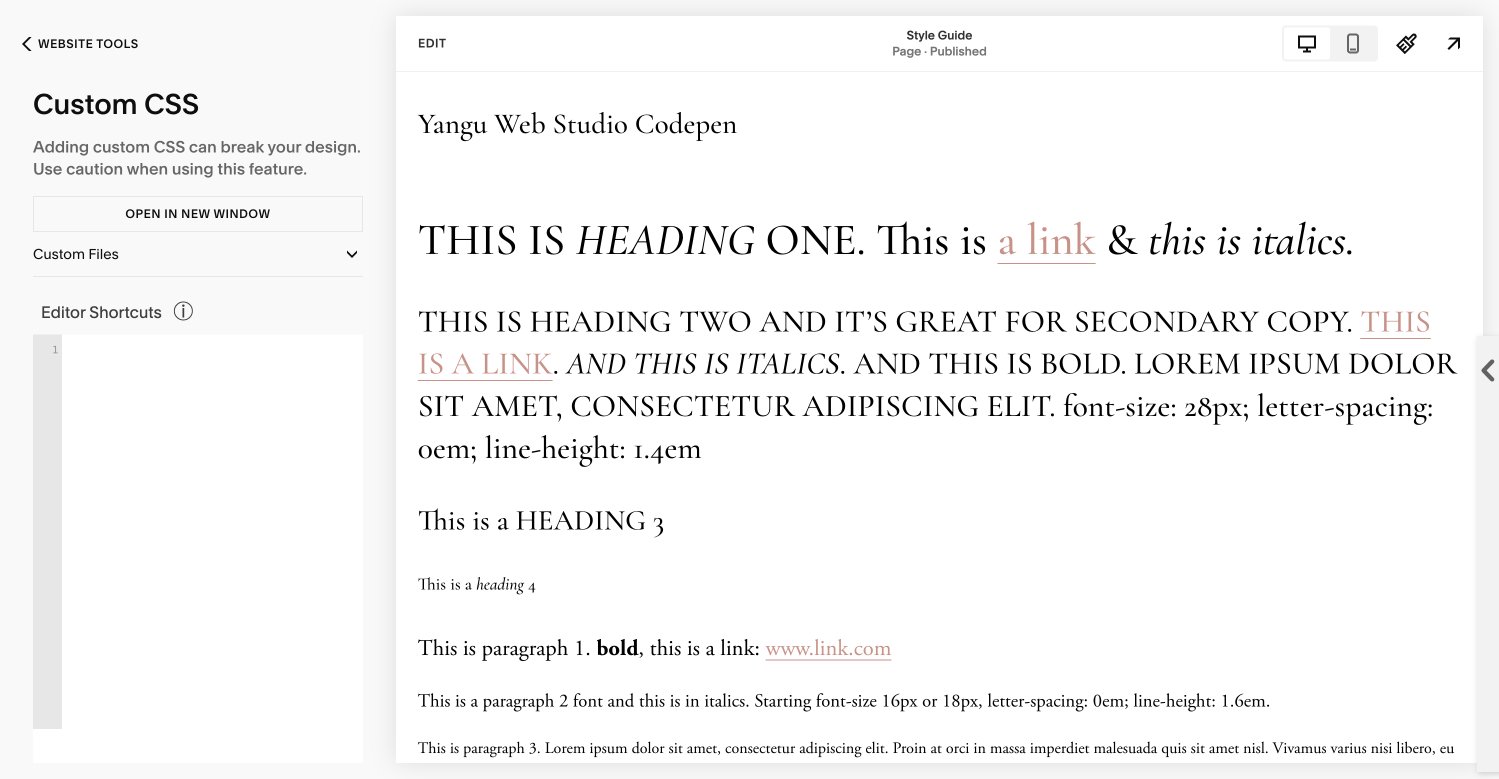
Step 1: Open the Custom CSS Panel
To get started, go to the "Website" section and scroll down to "Website Tools." You’ll find the "Custom CSS" panel here.
Step 2: Convert Your Font Files
Next, make sure your font files are ready to go. You'll need both OTF and WOFF formats to ensure your fonts work well across all browsers. If you’ve bought a custom font that’s in a different format (like TTF), don't worry! Just use an online converter like Cloud Convert to convert your files.
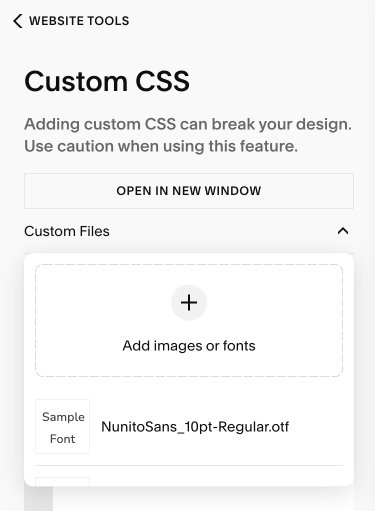
Step 3: Upload Your Font Files
Once your fonts are ready, it’s time to upload them into the Custom CSS panel. After uploading, you’ll update your CSS code by replacing the text ‘INSERT’ with the name of your font file.
//CUSTOM FONTS//
@font-face {
  font-family: 'insert';
  src: url('insert') format('otf'),
       url('insert') format('woff');
}
h1 {
  font-family: 'insert' !important;
}
h1 em {
  font-family: 'insert' !important;
}//accent font
Step 4: Assign Your Custom Font to Headings
Now comes the fun part—assigning your font to your website’s headings. In the Custom CSS panel, find the section for your heading styles (h1, h2, h3, etc.). From here, you’ll assign your custom font (like "Nunito Sans") to each heading style. Make sure to add !important so your font is applied consistently across the site.
Step 5: Styling Fonts Within a Single Text Block
Want to mix things up? Maybe you want to use two different fonts within the same text block to highlight certain words or add a unique accent font. While this isn’t something Squarespace offers by default, you can make it happen with a bit of CSS magic! By using CSS, you can style specific parts of your text differently, bringing an extra layer of personality to your site.
Conclusion
And that’s it—your website is now customized with your very own fonts! With these steps, you’re adding a personal touch to your design that truly represents your brand. If you ever need more guidance or want to explore new design ideas, I’m here to help. Until then, happy designing!

Full Code
//CUSTOM FONTS//
@font-face {
  font-family: 'insert';
  src: url('insert') format('otf'),
       url('insert') format('woff');
}
h1 {
  font-family: 'insert' !important;
}
h1 em {
  font-family: 'insert' !important;
}//accent font
Hey hey, Marya here 👋🏼
I’m the creative force behind Yangu Web Studio and a top-rated web designer on Squarespace's exclusive Marketplace for experts.
I adapt my skills to diverse industries and businesses globally, of all sizes, specializing in crafting digital solutions tailored to your unique goals. If you want to discuss a potential project, you can drop me a line at marya@yanguweb.studio or vibe with me here. Alternatively, you can schedule a free 15-minute consultation call here.